Project / Central London
A lead roof, from deck to wall capping.
A Code 5 lead covering, an expansion joint and a welded outlet form the core of this flat roof. Two site films follow the work from the boarded deck to the finished wall capping.
01 / On site / Central London
Roof covering and expansion joint
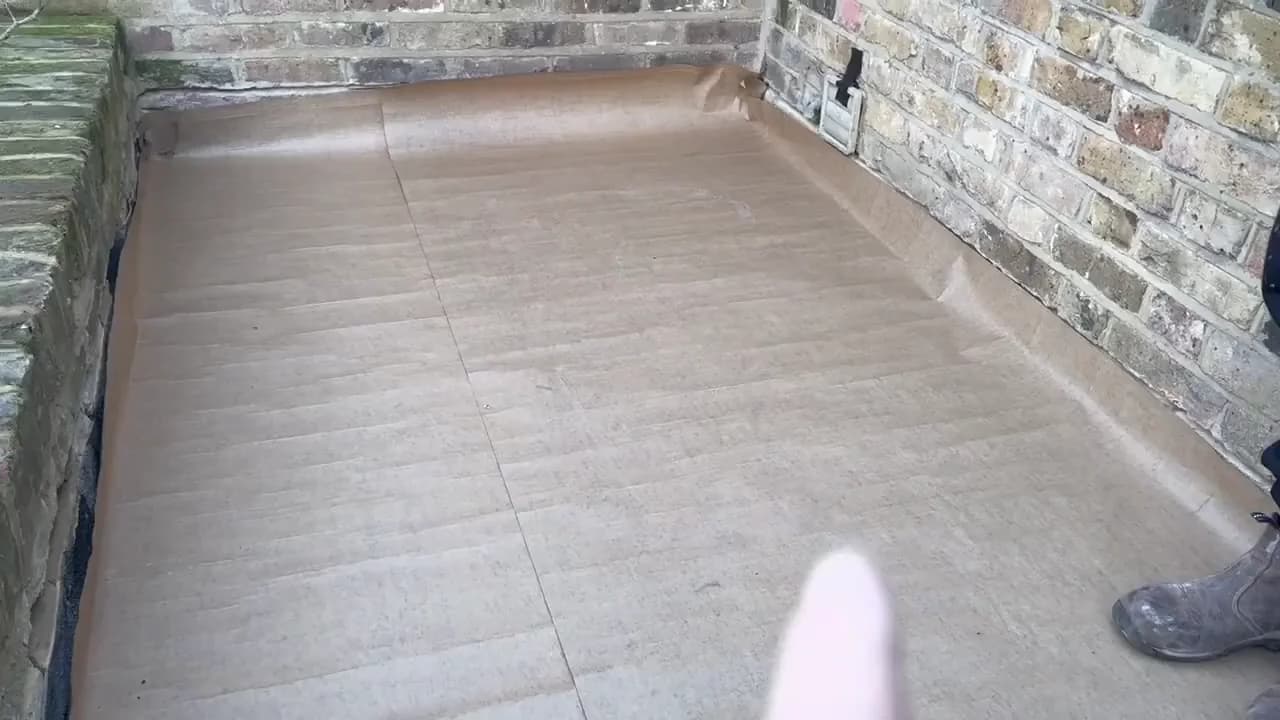
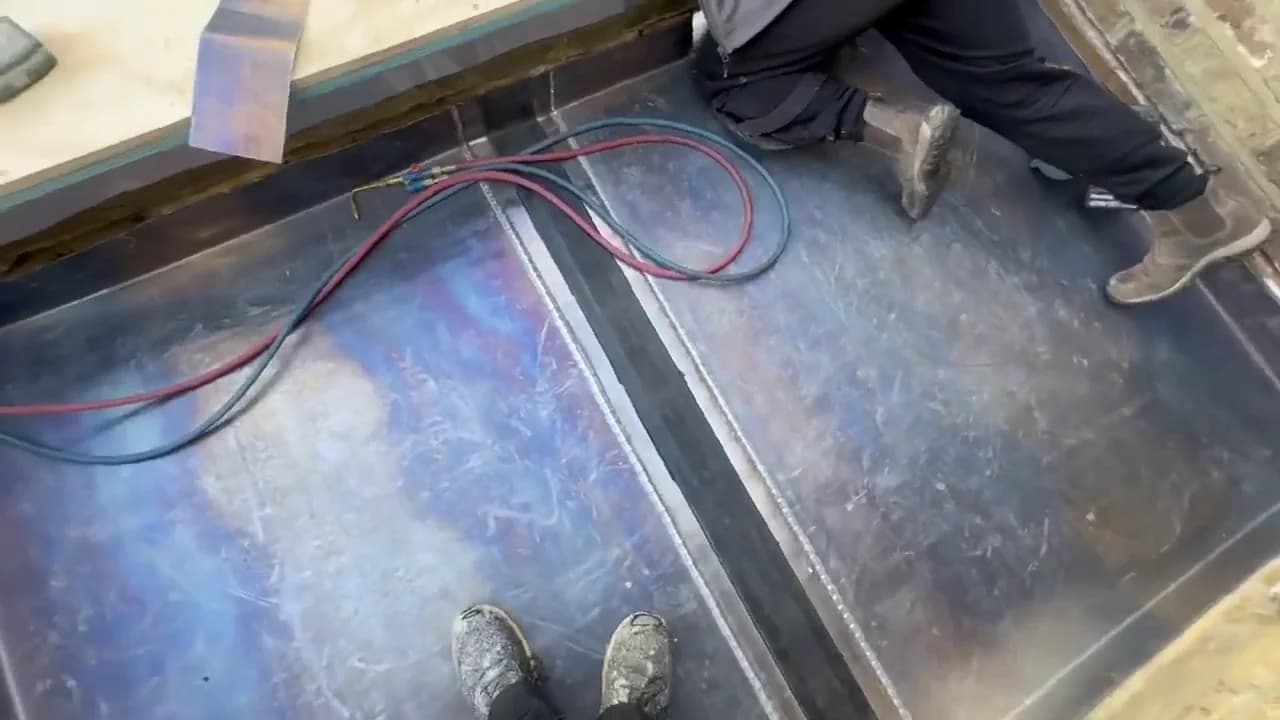
Ply and building paper, a welded expansion joint and the Code 5 lead roof with its flashings and outlet.
The flat roof is boarded with ply, with building paper laid over it ready for the leadwork. The film then follows the welding of an expansion joint into the lead.
An expansion joint runs down the middle of the roof to accommodate movement in the lead. Its rubber section is to receive a cover once the welding is complete.
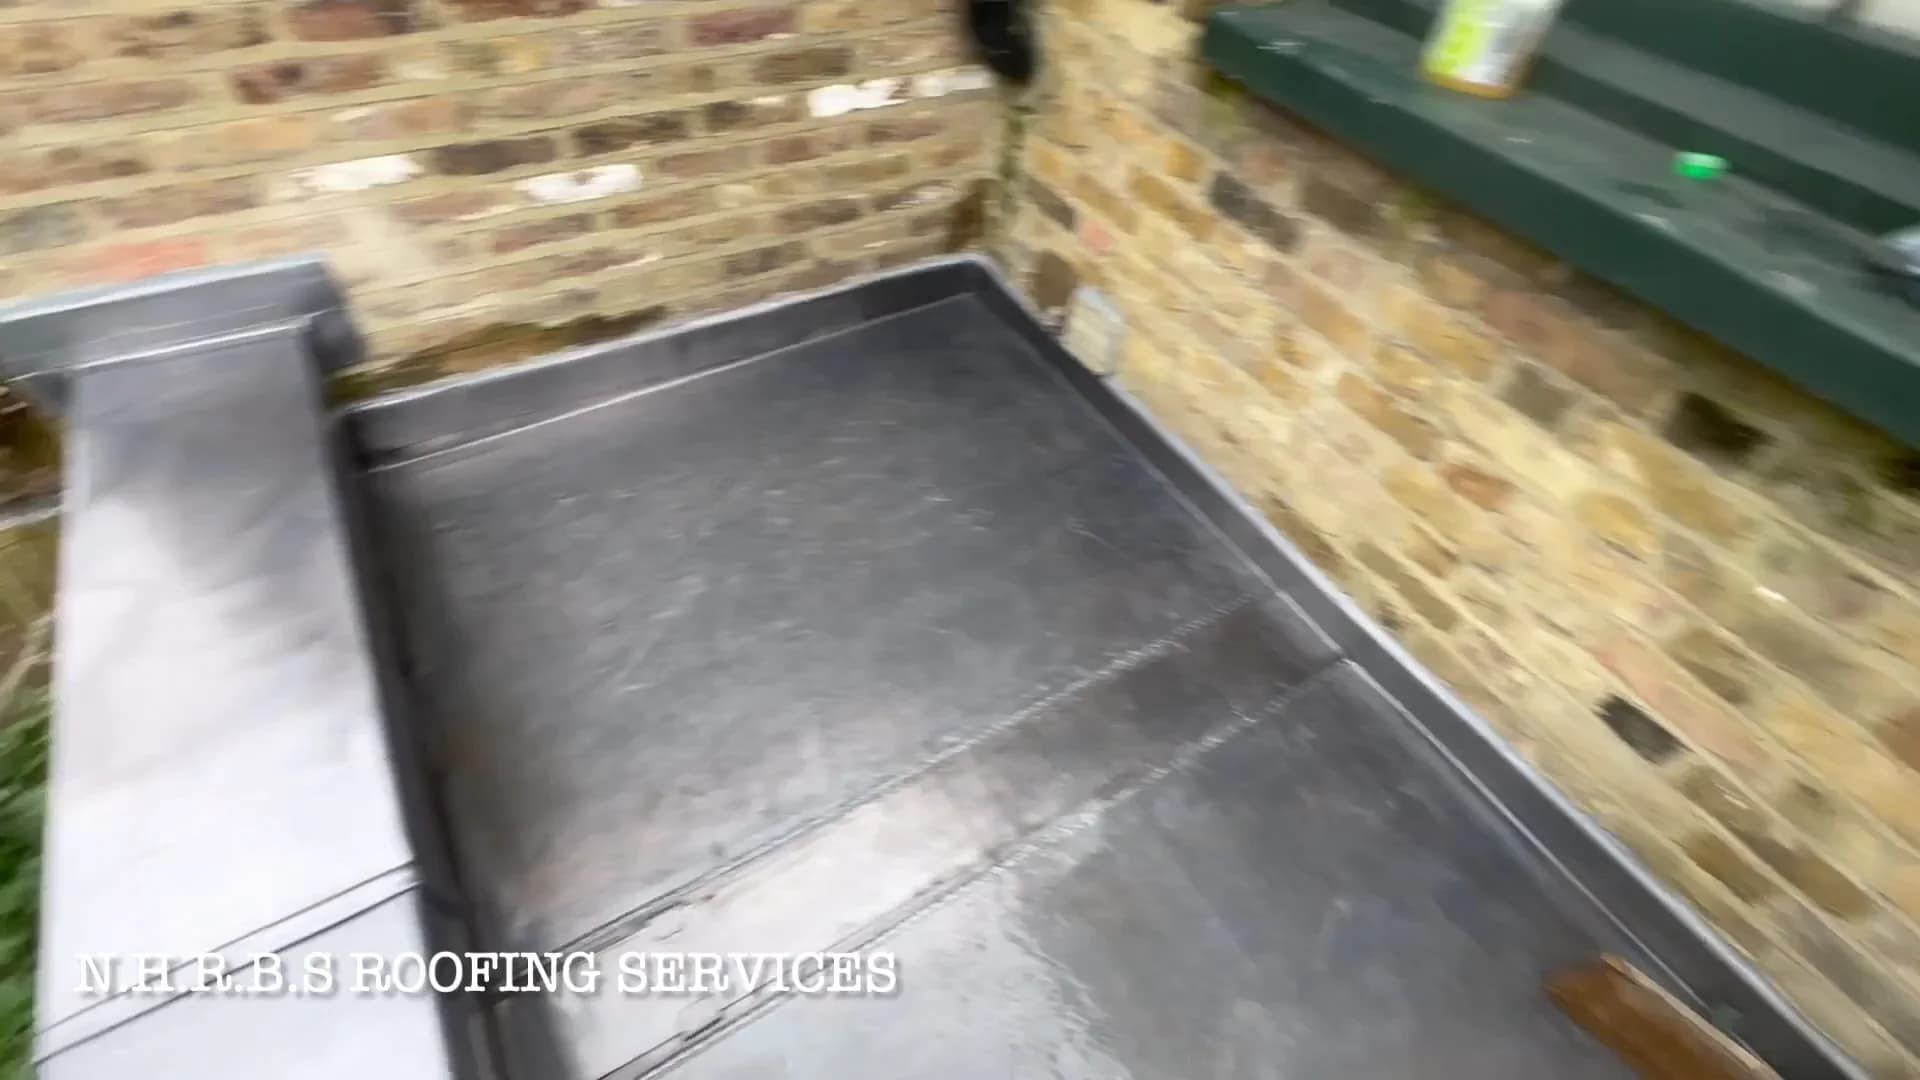
The Code 5 lead covering is finished with flashings cut into the wall and a welded outlet. At this stage the walls still need capping, with some cement work also left for the return visit.
02 / On site / Central London
Wall capping and upstands
The return visit follows the welding of the lead wall capping and shows the upstands at the roof edges.
The second film shows the lead wall capping being welded and the completed capping around the perimeter. It protects the tops of the walls from water entering the masonry.
The upstands and lead cut into the wall complete the junctions between the roof covering and the surrounding brickwork.
Roofing, explained
A covering that allows for movement.
This roof starts with a ply deck and building paper beneath the Code 5 lead. These are distinct parts of the build-up: the deck supports the covering, the paper separates it from the ply, and the lead forms the exposed weathering surface. The welded outlet provides the route for water to leave that surface.
The expansion joint down the middle addresses a different requirement: movement. Lead expands and contracts as temperatures change, so simply laying one continuous piece is not equivalent to providing a joint. Here, the joint is welded into the covering, with a flexible rubber section and a cover planned over it. That detail allows movement rather than relying on the lead sheet to absorb all the strain.
Central London / Leadwork in progress
From the boarded deck to the roof edges.
Roofing, explained
The roof surface is not the whole job.
The first film reaches a stage where the main covering and outlet are complete, but wall capping and some cement work remain. That distinction matters: a broad expanse of finished lead does not mean every route for water around the perimeter has been addressed.
The return visit concentrates on those edges. Capping protects the wall tops, while upstands carry the roof covering upwards at the perimeter and flashings cut into the wall weather the junctions. These details have separate jobs. Completing the horizontal covering alone would leave the relationship between roof and masonry unresolved.
Roofing, explained
What to ask at a lead-roof inspection.
For a similar property, useful inspection questions go beyond the visible sheet: how does water reach the outlet, where can the lead move, and what condition are the wall capping and flashings in? Ask which parts can be assessed from the surface and whether anything needs opening up to establish the condition beneath.
A useful inspection distinguishes covering repairs from outlet, joint and masonry work, and explains which existing details can remain. Ask for those items to be separated in the proposed scope, including any perimeter work needed after the main covering is laid. That makes it easier to understand what a repair or replacement will actually address on your roof.
Your roof / The next detail
Need similar work?
Every roof needs its own inspection. We will explain what this work may mean for your property and recommend the right next step.